
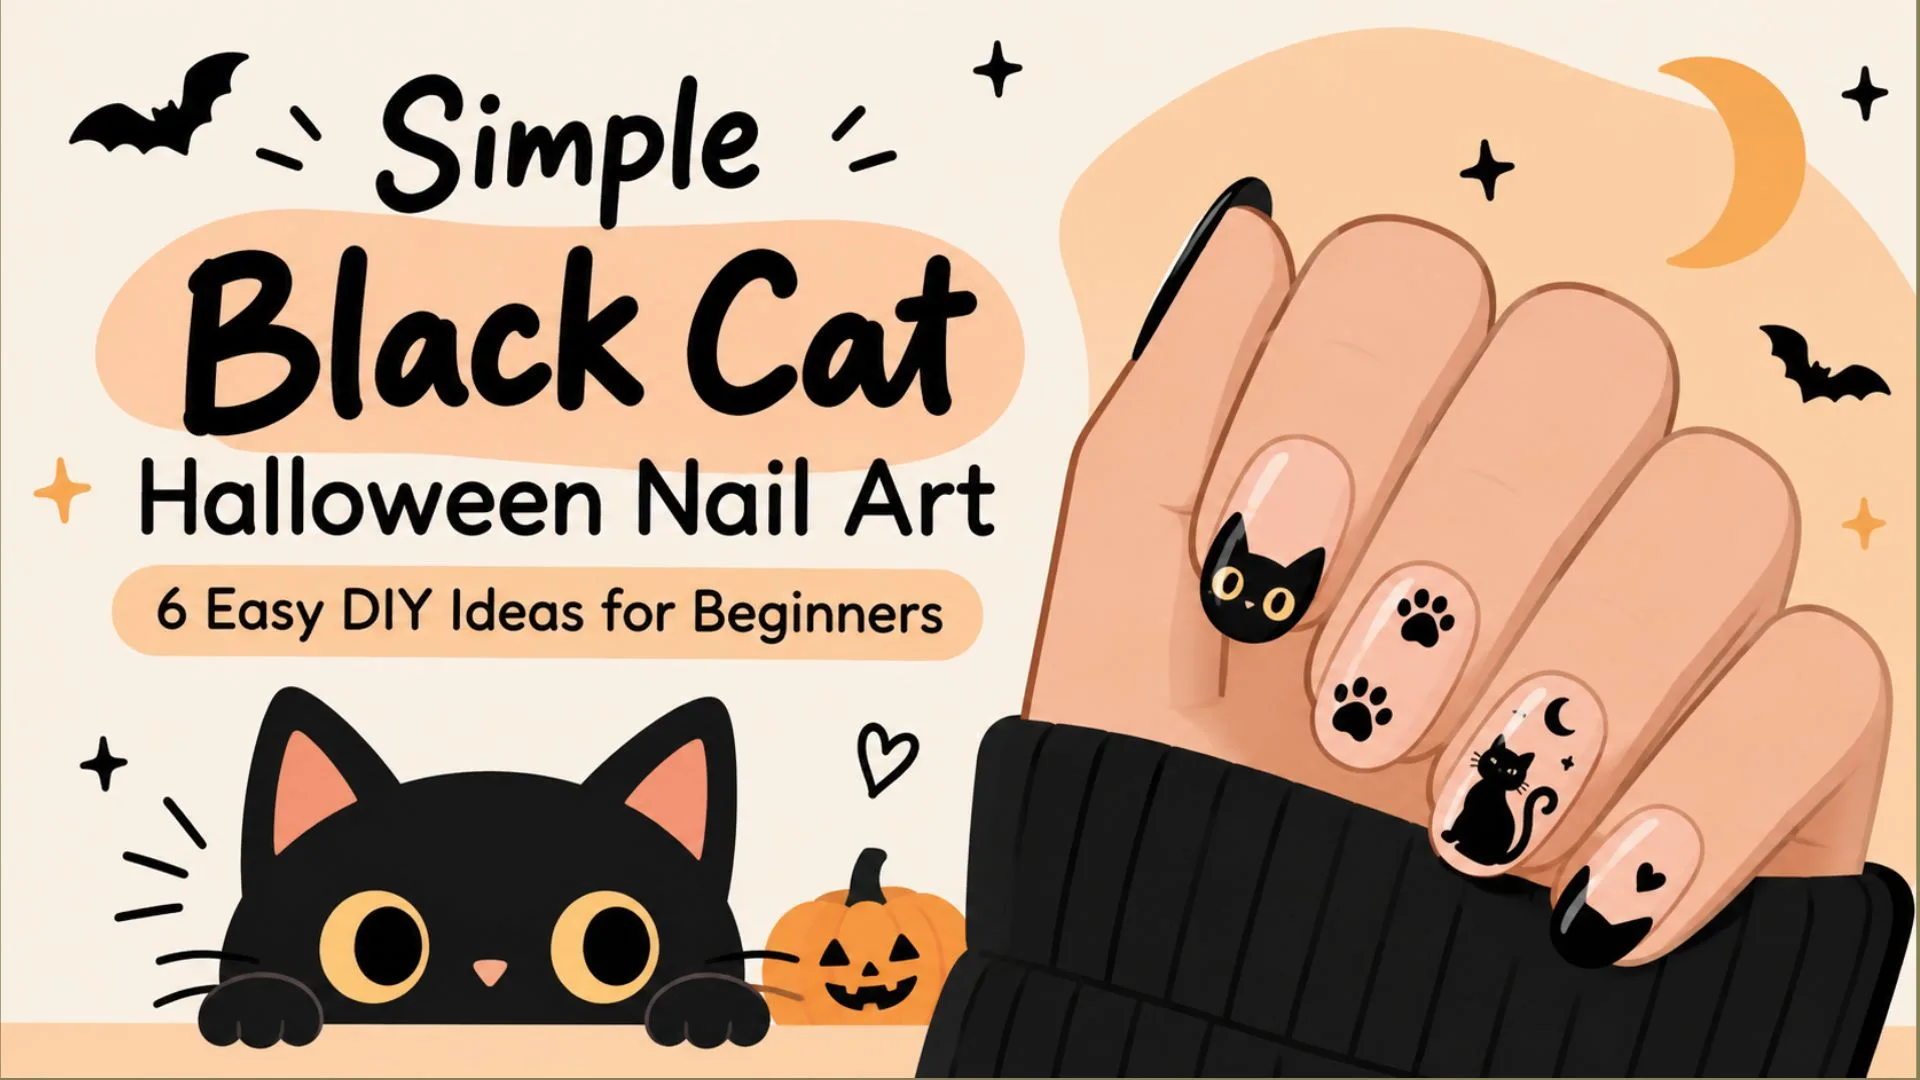
Halloween Season is officially creeping closer, which means it’s time to bring out the cozy layers, spooky movies, pumpkin-season vibe, and, of course, Spooky Chic Nail Art. This year, I’m especially go with the mysterious charm of black cat Halloween nails—a Classic Halloween symbol that can look playful, elegant, or subtly spooky depending on how you style it.
If complicated nail art isn’t your thing, don’t worry. These simple black cat nail designs are made for beginners, with easy shapes, minimal detailing, and DIY-friendly techniques you can recreate at home. From tiny cat silhouettes and curious peeking faces to sleek French tips and glowing feline eyes, each idea brings a little Halloween magic to your manicure without making the process feel overwhelming.
Personally, I love these looks because they prove that Halloween nails don’t have to be loud to make an impression. A tiny black cat against a nude base can feel just as captivating as an elaborate spooky manicure—and you can easily make each design your own.
Ready to give your Halloween mani a little feline attitude? From sleek and spooky silhouettes to cute, playful cat details, these 6 simple black cat Halloween nail art ideas make it easy to create a festive manicure at home.
Keep scrolling to discover beginner-friendly designs that bring just the right touch of mystery, charm, and Halloween style to your nails.
1. Minimalist Black Cat Silhouette Nails
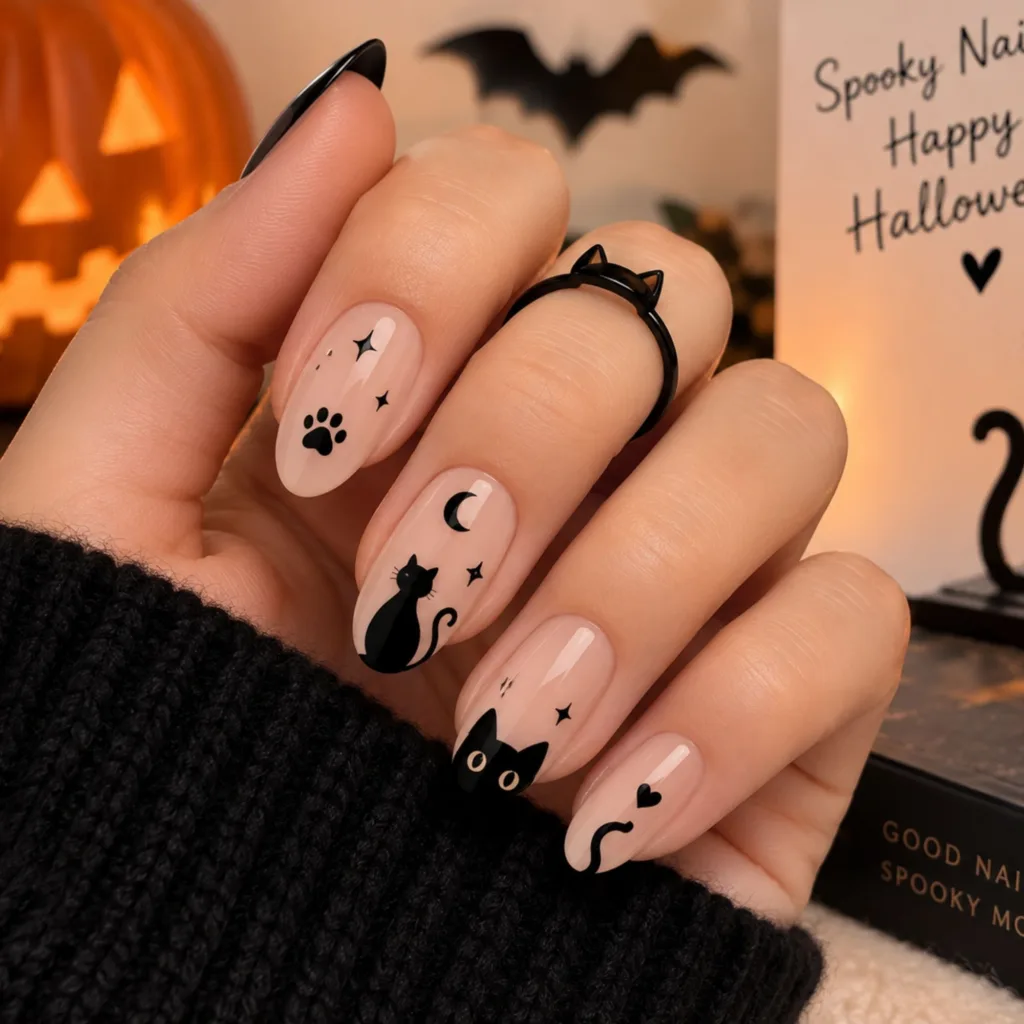
I personally love the simplicity of a black cat silhouette manicure. Against a nude or sheer base, the tiny black detailing immediately catches your eye without making the manicure feel overly busy. This is especially beautiful if your Halloween style leans sophisticated rather than theatrical. You can create the cat on one or two accent nails and leave the rest glossy and minimal.
How to Create the Look
Step 1: Prep your nails.
File your nails into your preferred shape, gently push back the cuticles, and clean the nail plate. Apply a thin base coat and allow it to dry.
Step 2: Create your neutral canvas.
Apply one or two coats of sheer nude, milky pink, or soft beige polish. Let each coat dry before continuing.
Step 3: Draw the cat’s head.
Using black nail polish and a fine nail-art brush, create a small rounded shape toward the tip or side of your accent nail.
Step 4: Add the ears.
Paint two tiny triangles above the head. Keep them narrow and slightly pointed so the silhouette immediately reads as a cat.
Step 5: Create the body and tail.
Extend a small curved body underneath the head and finish it with a thin, sweeping tail.
Step 6: Seal the design.
Once everything is completely dry, apply a glossy top coat.
Pro Tip
Don’t try to create the entire cat with one continuous brushstroke. Break the design into simple shapes—circle, triangles, body, tail. It gives you much more control and makes this beginner-friendly Halloween nail art considerably easier.
2. Peeking Black Cat Halloween Nails
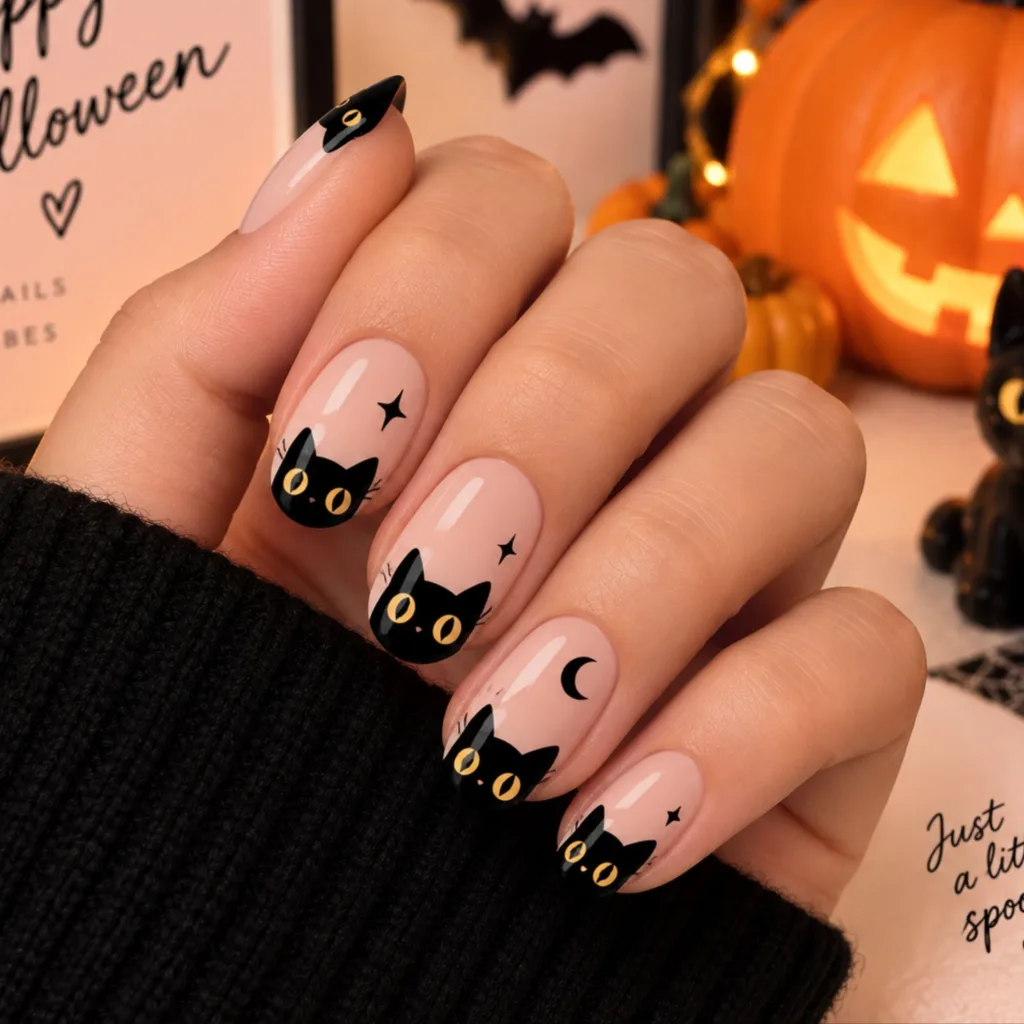
If you want something a little more playful, the peeking black cat nail is one of my favorite interpretations. Instead of drawing an entire cat, only the ears, head, and eyes appear from the edge of the nail. The result feels cute, mischievous, and perfectly suited to Halloween without being overly spooky.
How to Create the Look
Step 1: Choose your background.
Start with a nude, pale lavender, pumpkin orange, or milky-white base.
Step 2: Paint a semicircle.
At the tip of your nail, paint a small black semicircle. This becomes the cat’s head.
Step 3: Add two ears.
Paint two small triangular ears extending from the top of the semicircle.
Step 4: Create the eyes.
Using yellow, lime green, or metallic gold polish and a dotting tool, add two tiny dots.
Step 5: Add pupils.
Once the eye color dries, place an extremely thin vertical black line through each eye.
Step 6: Finish with top coat.
Allow the artwork to dry before sealing everything with a glossy top coat.
Pro Tip
The eyes are the focal point, so keep the rest of the cat intentionally simple. If your dots aren’t identical, use the tip of a toothpick or fine brush to gently refine their shape before they dry.
3. Black Cat French Tip Nails
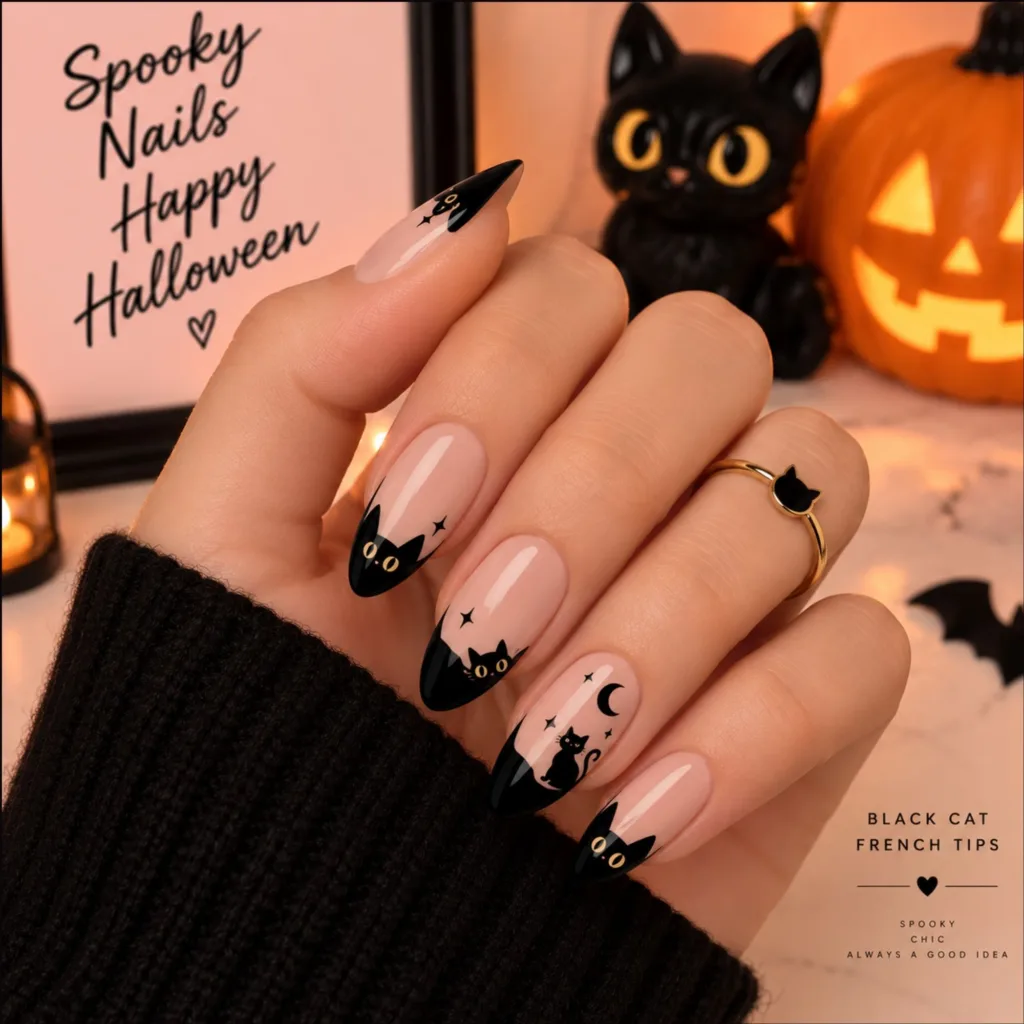
French manicures and Halloween nail art might sound like completely different aesthetics, but together they can create an unexpectedly chic manicure. I particularly love this idea because it gives the traditional French tip a subtle October twist. From a distance, you see a sleek black French manicure; up close, tiny cat ears reveal the Halloween detail.
How to Create the Look
Step 1: Apply a sheer base.
Use a translucent nude or soft pink polish to create a clean foundation.
Step 2: Paint black French tips.
Use a thin brush to trace the natural curve of your nail tip and fill it with black polish.
Step 3: Turn one tip into a cat.
On an accent nail, extend two tiny triangular ears upward from the black French tip.
Step 4: Add the eyes.
Place two miniature yellow or green dots underneath the ears.
Step 5: Add optional details.
A tiny moon, star, or delicate whiskers can make the accent nail feel more distinctive.
Step 6: Apply top coat.
Seal the manicure once your design is fully dry.
Pro Tip
For short nails, keep your French line micro-thin. Thick black tips can visually shorten the nail, while a delicate French edge keeps everything looking elongated and refined.
4. Black Cat Eyes Halloween Nail Art
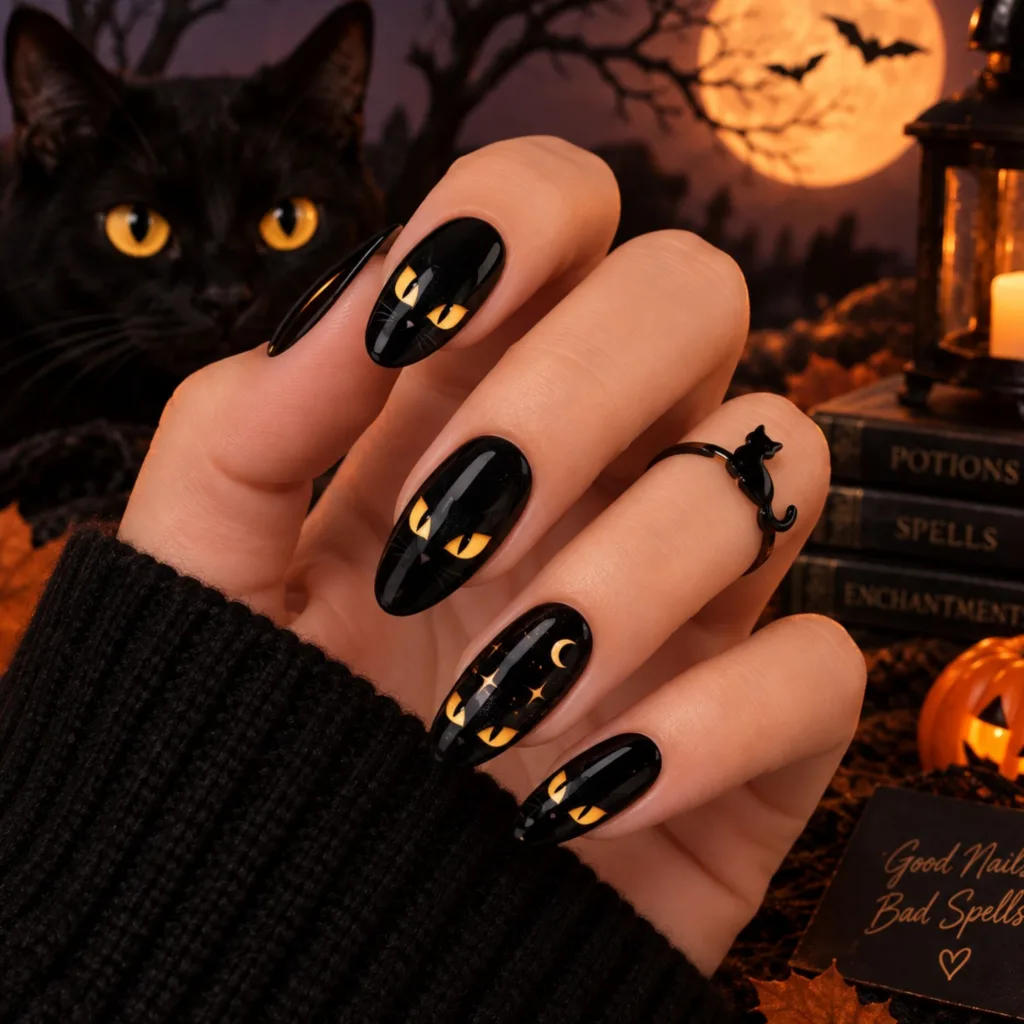
Sometimes you don’t even need to draw the cat. A pair of mysterious feline eyes emerging from a glossy black manicure can create one of the easiest yet most striking black cat Halloween nail designs. Personally, I love how minimal this design can be. It carries the black-cat theme without becoming literal, which makes it particularly appealing if you prefer darker, more sophisticated Halloween nails.
How to Create the Look
Step 1: Paint the nails black.
Apply two thin coats of glossy black polish.
Step 2: Create the eye shapes.
Using bright yellow, green, or metallic gold polish, draw two small almond-shaped eyes on an accent nail.
Step 3: Add the pupils.
Place a thin vertical black line through the center of each eye.
Step 4: Add dimension.
A microscopic white dot toward one corner of each eye can imitate reflected light.
Step 5: Seal the manicure.
Finish with a high-shine top coat.
Pro Tip
Instead of making the eyes large, keep them tiny and sharply defined. Negative space around them creates more mystery and can make the finished manicure look considerably more polished.
5. Cute Black Cat and Moon Nails
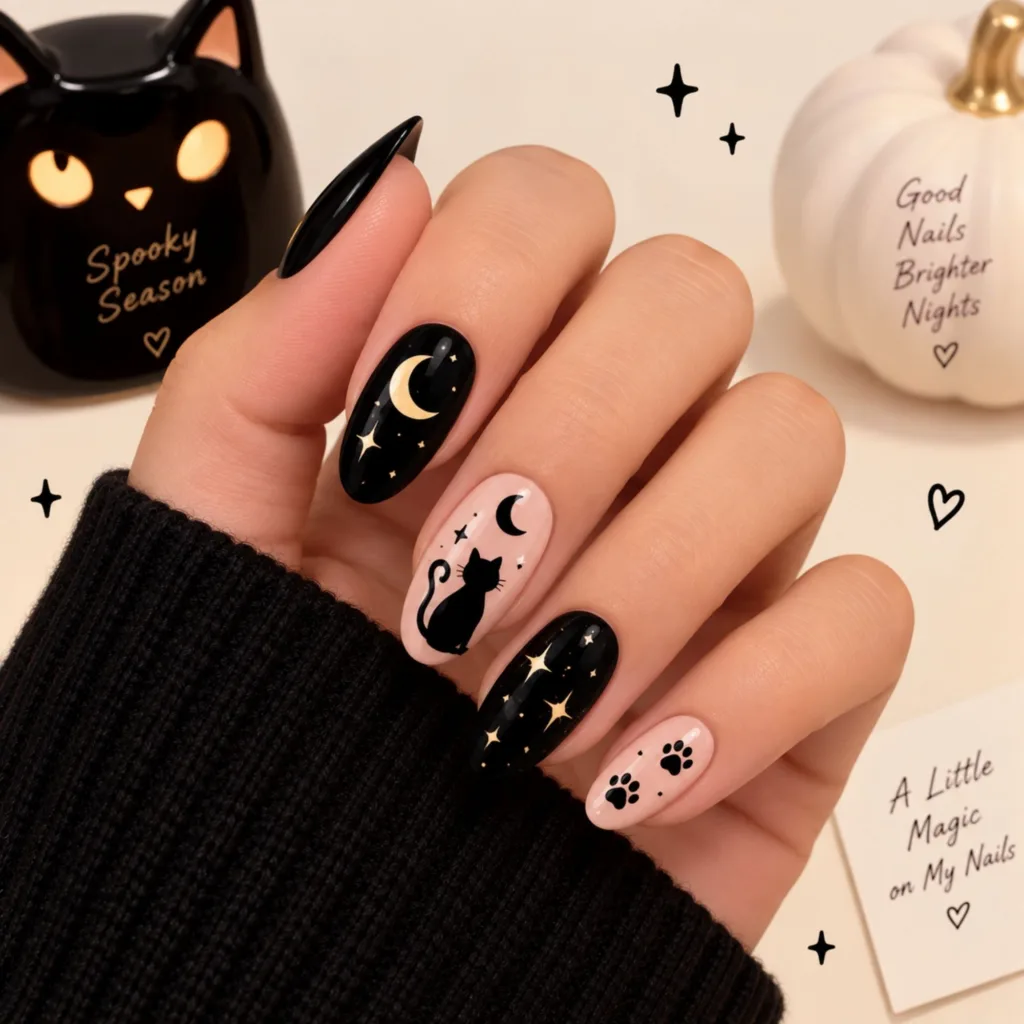
For a softer Halloween manicure, combine a tiny black cat silhouette with a crescent moon and stars. This is the design I would choose when you want Halloween nails that still feel dreamy and fashion-forward. Deep purple, midnight blue, smoky grey, and sheer nude backgrounds all work beautifully.
How to Create the Look
Step 1: Paint your base color.
Choose midnight blue, deep purple, grey, or a neutral sheer polish.
Step 2: Add a crescent moon.
Use white, silver, or pale gold polish to draw a small crescent on one nail.
Step 3: Create your cat silhouette.
On another nail, paint a tiny sitting cat using a dotting tool and fine brush.
Step 4: Draw the tail.
Create a long curved line beside the body. This small detail makes the silhouette instantly recognizable.
Step 5: Add tiny stars.
Dot a few miniature stars around the moon rather than covering the entire nail.
Step 6: Finish the manicure.
Seal your celestial design with glossy top coat.
Pro Tip
Use different-sized dots for the stars instead of trying to hand-paint every star shape. The variation creates a more natural night-sky effect while being far easier for beginners.
6. Black Cat Paw Print Nails
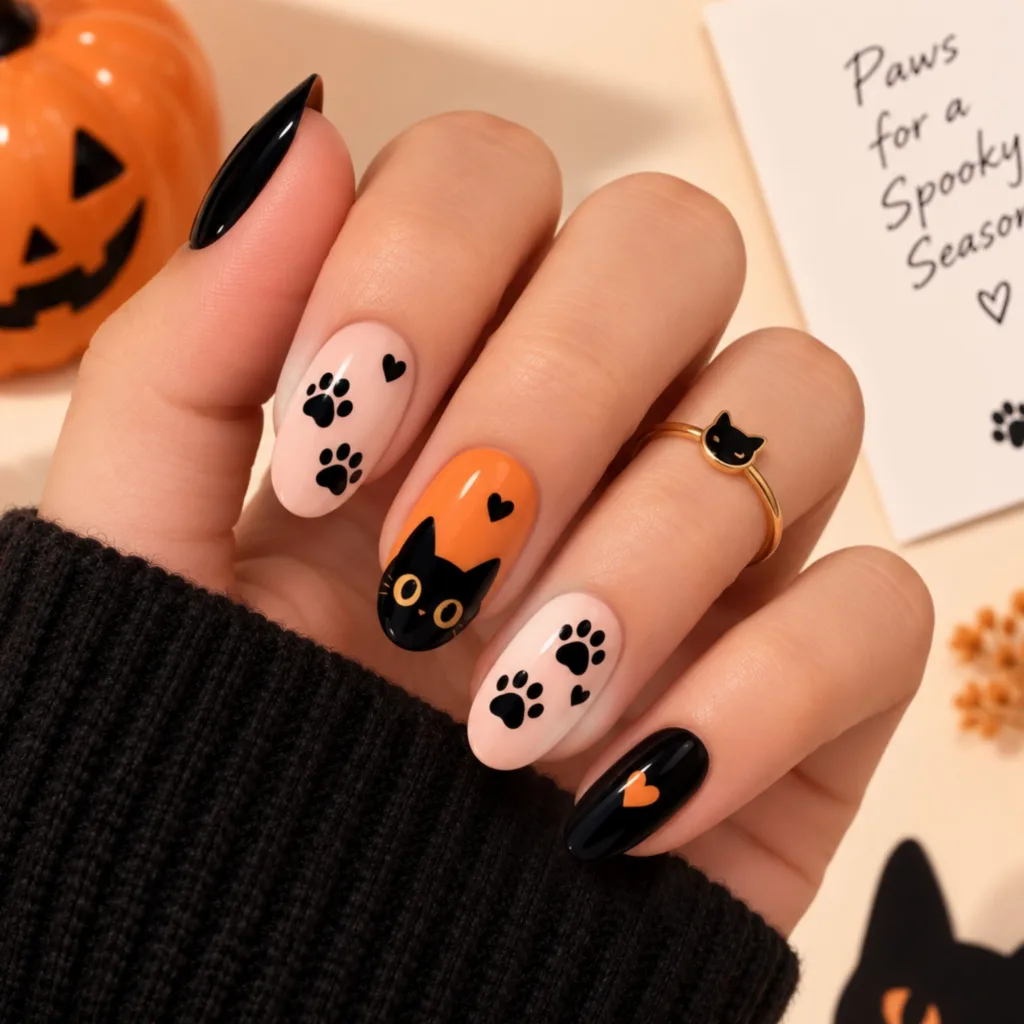
If drawing a complete cat still feels intimidating, start with black cat paw prints. This may be the easiest design in the entire edit. The tiny paw details can travel across one accent nail or appear randomly across the manicure, giving you a playful Halloween look without requiring advanced nail-art skills.
How to Create the Look
Step 1: Apply your base color.
Try pumpkin orange for classic Halloween energy, milky white for contrast, lavender for something playful, or nude for a minimalist finish.
Step 2: Make the paw pad.
Dip a dotting tool into black polish and create one slightly larger dot.
Step 3: Add the toes.
Place three or four smaller dots just above it.
Step 4: Repeat selectively.
Create another paw print at a slightly different angle. You don’t need to cover every nail.
Step 5: Add an optional cat accent.
On one nail, combine the paw prints with a tiny cat head or curved tail.
Step 6: Seal everything.
Finish with your preferred glossy or matte top coat.
Pro Tip
Don’t arrange every paw print in a perfectly straight line. Slightly rotating each print makes it look as though a tiny black cat actually wandered across your manicure.
What You’ll Need for These Black Cat Halloween Nails
You don’t need an enormous nail-art kit to recreate these looks. Most of the designs rely on a few basic products and careful detailing.
- Base Coat: Helps create a smoother foundation and protects the natural nail.
- Black Nail Polish: The essential shade for silhouettes, cats, French tips, eyes, and paw prints.
- Neutral Nail Polish: Nude, sheer pink, beige, or milky white gives black detailing a clean contrast.
- Halloween Accent Colors: Orange, purple, green, silver, or gold can introduce subtle seasonal color.
- Fine Nail-Art Brush: Useful for ears, whiskers, tails, pupils, and miniature silhouettes.
- Dotting Tool: Perfect for eyes, paw prints, stars, and other tiny details.
- Toothpick: A surprisingly useful alternative if you don’t own a dotting tool.
- Top Coat: Helps protect your finished artwork while giving the manicure a smooth final appearance.
Frequently Asked Questions About Black Cat Halloween Nail Art
Q1. How long does simple black cat nail art take to create?
For a simple design, you can usually finish the nail art in around 10–15 minutes after applying your base color. If you’re trying nail art for the first time, give yourself closer to 20 minutes so you can work slowly and refine the tiny details without rushing.
Q2. Do I need to put a black cat on every nail?
Not at all. In fact, leaving a few nails simple can make the manicure look more polished. Try adding black cats to two or three accent nails while keeping the remaining nails glossy, matte, or finished with a simple French tip. This balance keeps the Halloween theme playful without making the manicure feel crowded.
Q3. Do I need to plan where each cat will go?
No. One of the best things about DIY nail art is that you don’t have to make every nail identical. Pick your favorite cat silhouettes, faces, eyes, or paw prints and place them wherever they look balanced. Slight variations can make the finished manicure feel more personal and creative.
Q4. Can I use a different base color?
Absolutely. Black cat designs look beautiful against far more than a traditional Halloween orange. Try a milky nude, sheer pink, lavender, deep purple, midnight blue, white, or pumpkin orange base. If you prefer a classic Halloween palette, orange and black create instant seasonal contrast. For a softer, more fashion-forward look, a neutral base with tiny black cats is especially chic.
Q5. Can beginners really create these black cat designs?
Yes. These designs are intentionally built around simple shapes rather than complicated nail-art techniques. Cat ears can be created with two tiny triangles, eyes with dots, and tails with a single curved line. If you’re new to nail art, start with paw prints or a peeking cat before attempting a full silhouette. A fine nail-art brush or dotting tool can make the small details much easier to control.
Q6. Will black cat nail art work on short nails?
Definitely. Short nails are actually perfect for several of these designs. Peeking cats, tiny cat faces, eyes, paw prints, and minimalist silhouettes don’t require much space and can look beautifully proportioned on shorter nails. For longer nails, you can experiment with full-body cats, moons, stars, French tips, and more detailed Halloween scenes.
[…] Simple Black Cat Halloween Nail Art: 6 Easy DIY Ideas for Beginners Homemade Skin Whitening Drink In 7 days For Naturally Glowing Skin Matte Fall Nails: 20 Chic Nail Art Ideas for Autumn Want a Healthier Life? Discover the Benefits of Fenugreek Seed Water 6 Unique Halloween Decorations: Spooky Ideas for 2026 […]