
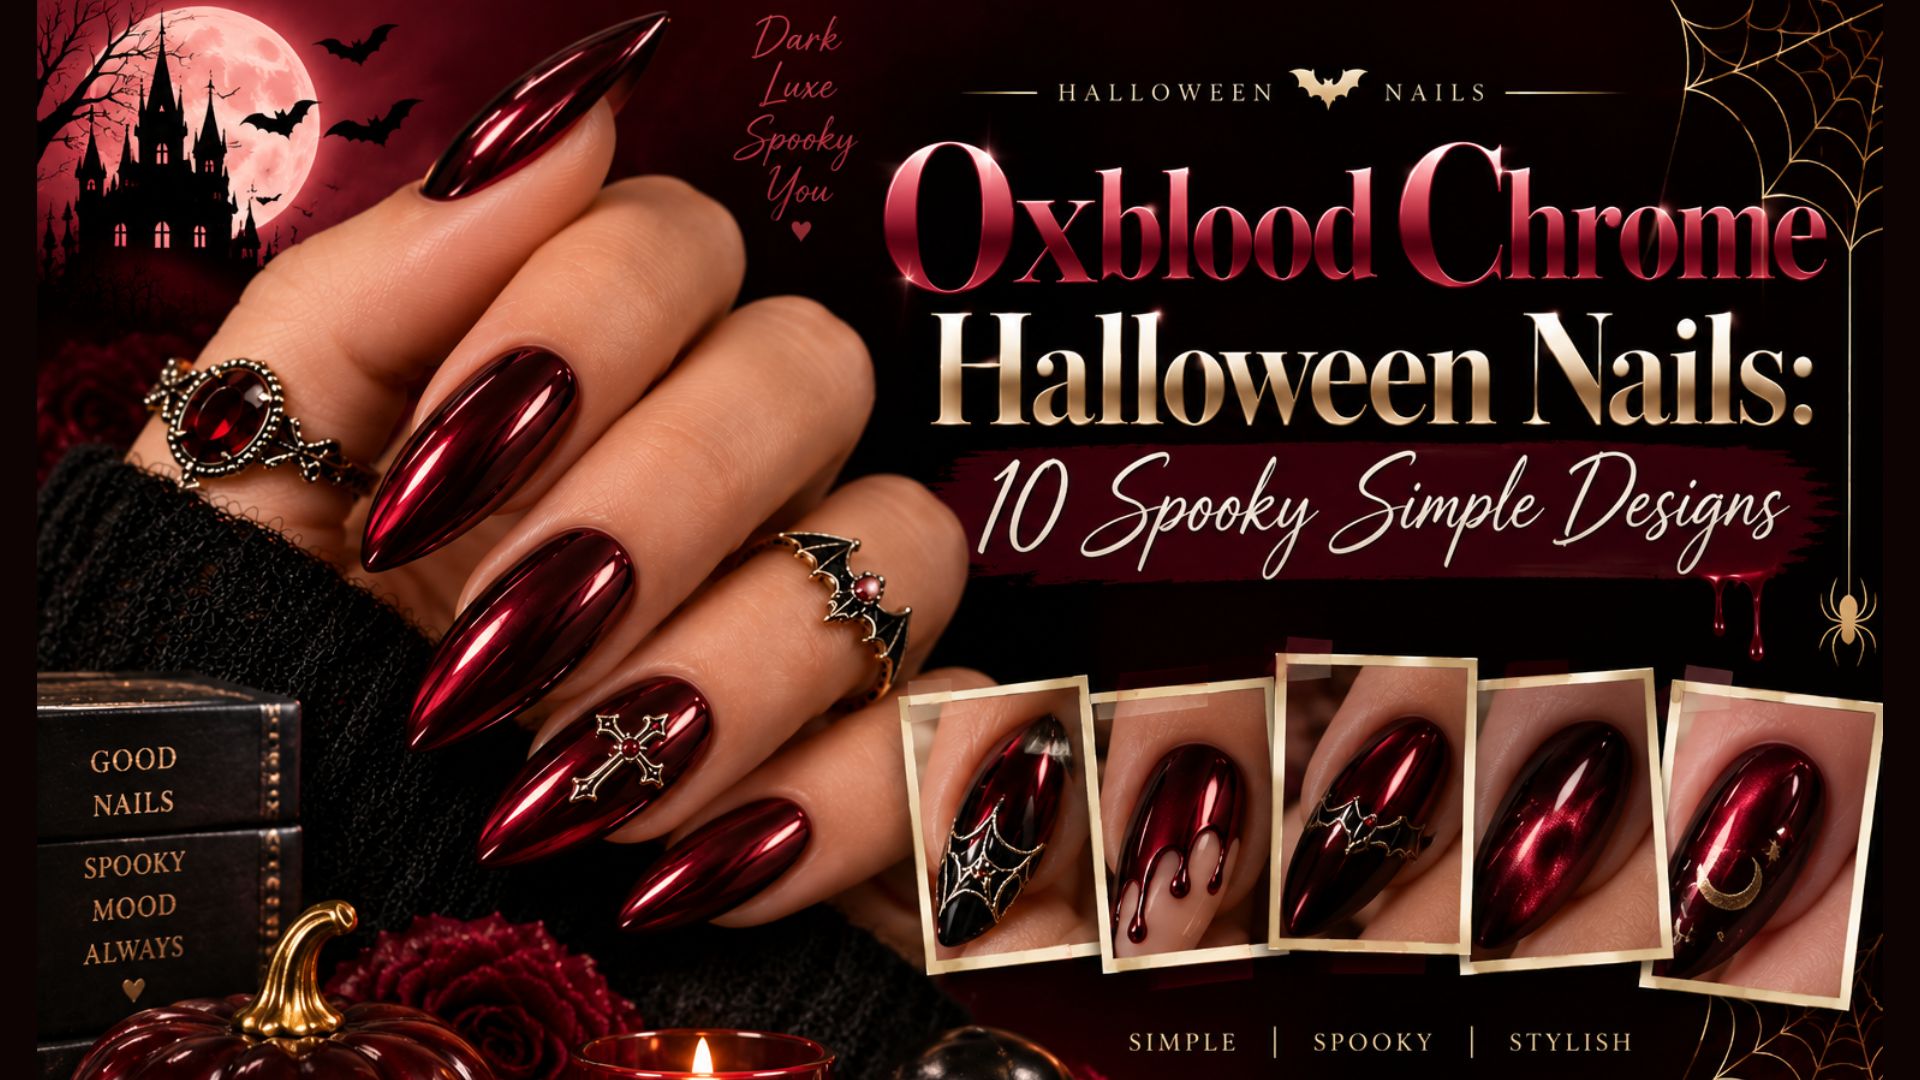
Every October comes with the same style dilemma: should your Halloween look feel spooky, luxe, or a little bit of both? Oxblood chrome Halloween nails make the answer effortless. This season, it is less about over-the-top nail art and more about rich color, sharpe finishes, and subtle details that make a statement. Deep oxblood tones paired with glossy chrome create a dark, luxe manicure that feels perfectly made for Halloween.
Whether you prefer short and simple nails, elegant almond shapes, or a little spooky detail, these 10 oxblood chrome Halloween nail designs offer an easy way to embrace the season without going overboard. From sleek chrome finishes to delicate webs, vampy accents, and glossy drips, each look brings a touch of Halloween drama while staying polished and wearable long after October 31.
Deep reds and burgundy are having a strong fall moment, while chrome is evolving beyond lighter glazed finishes and appearing over richer shades such as burgundy and forest green. Oxblood fits beautifully into that shift, especially when paired with glossy surfaces, black accents, magnetic effects, or subtle Halloween details.
Discover 10 Oxblood Chrome Halloween Nails 2026, from vampy French tips to dark chrome designs for a luxe, spooky manicure
1. Classic Oxblood Chrome Halloween Nails
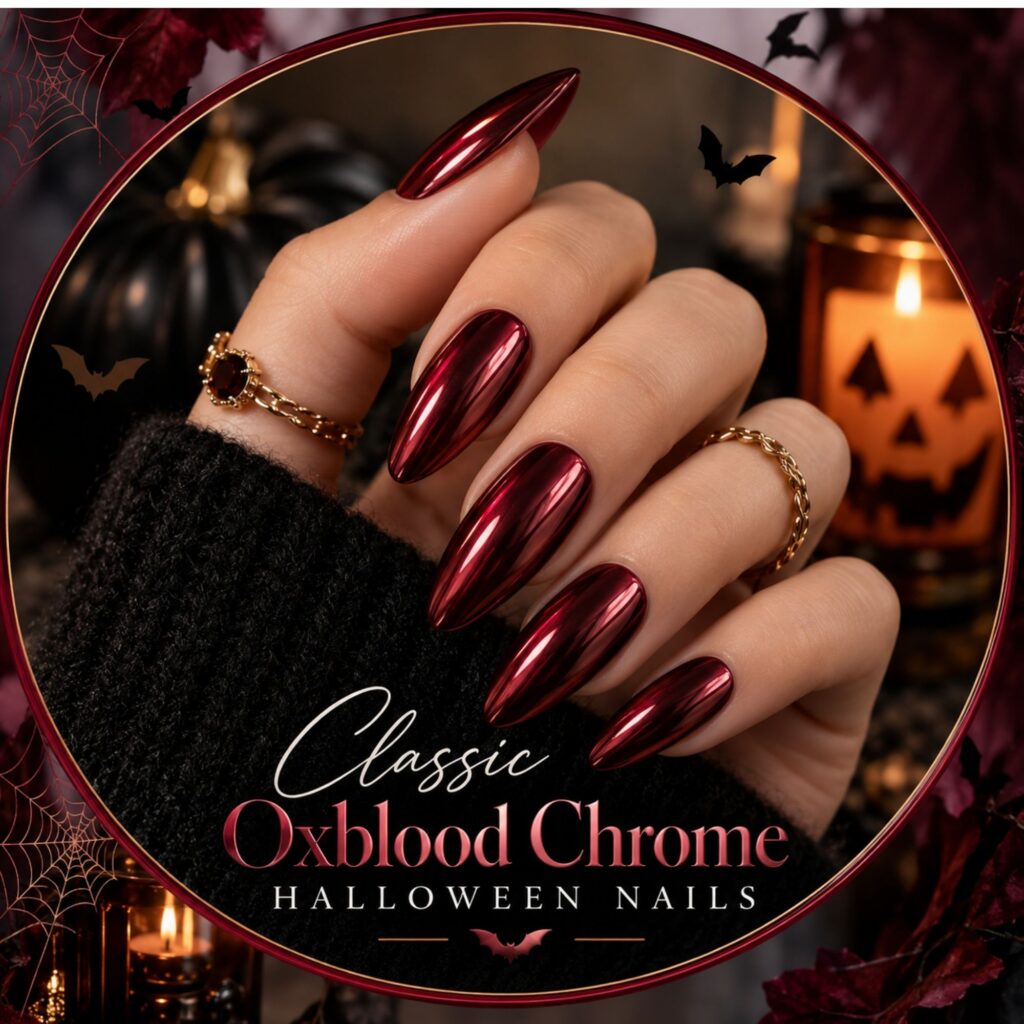
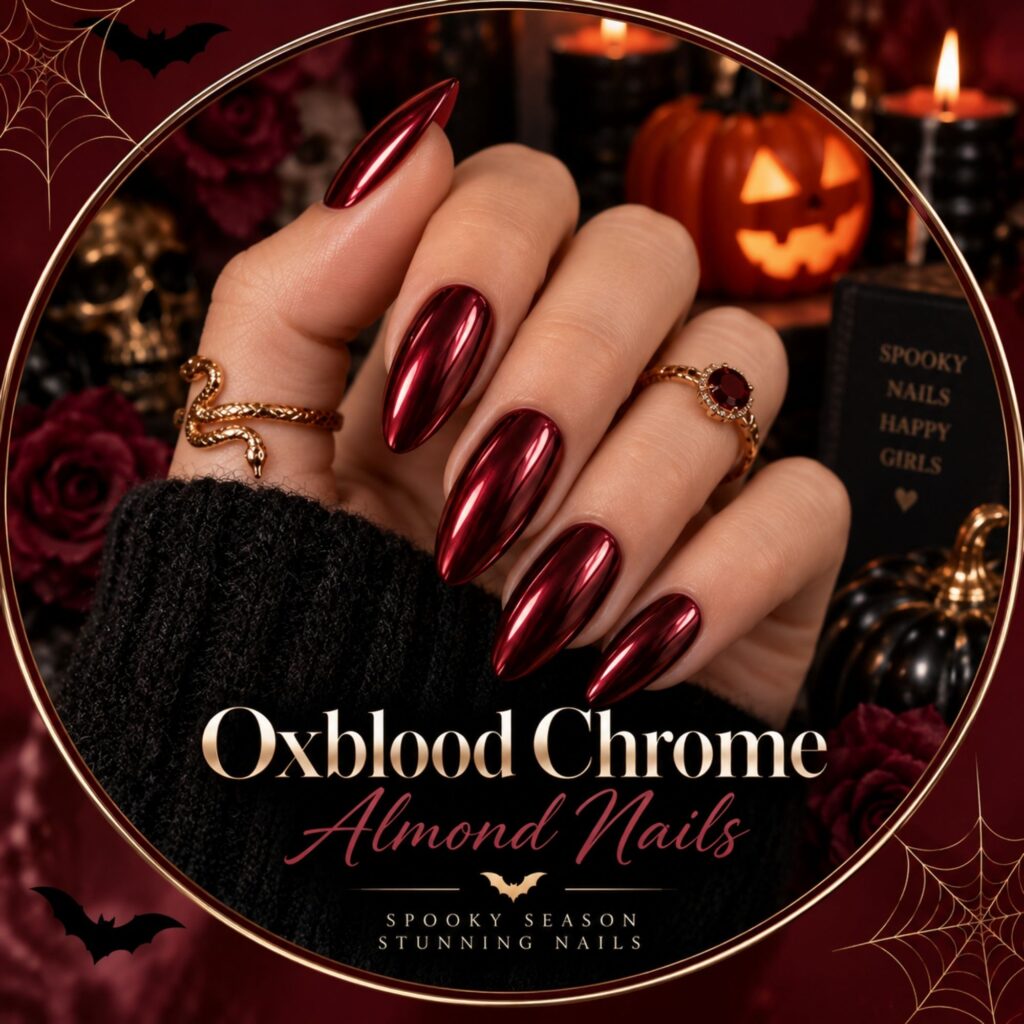
Go with the simplest version of the trend: with the deep oxblood chrome nails. This look lets the color and reflective finish do all the work. The result is dark enough for Halloween but sophisticated enough to wear throughout fall. On almond or coffin nails, the reflective surface gives the deep wine-red shade a dramatic, almost liquid appearance.
Materials You’ll Need
- Nail file: To shape the nails.
- Buffer: To smooth the natural nail surface.
- Base coat: To create a smooth foundation.
- Oxblood gel polish: Choose a deep brown-red or wine-red shade.
- Chrome powder: Use a red, burgundy or translucent chrome powder.
- Chrome applicator: For rubbing the powder onto the cured surface.
- No-wipe top coat: Essential for creating the right chrome surface.
- Cuticle oil: To finish the manicure.
How to Make It
- 1. Shape your nails: File your nails into an almond, coffin or square shape and make sure every edge is smooth.
- 2. Prep the nail: Gently push back the cuticles and lightly buff away surface shine.
- 3. Apply the base: Add a thin layer of base coat and cure according to your product instructions.
- 4. Paint the oxblood: Apply one thin coat of oxblood gel polish, cure it, then apply a second coat for richer coverage.
- 5. Create the chrome surface: Apply a suitable no-wipe top coat and cure according to the manufacturer’s instructions.
- 6. Rub in the chrome: Use your applicator to buff chrome powder across the entire nail until you achieve an even reflective finish.
- 7. Seal everything: Carefully apply top coat around the entire nail, including the free edge, and cure.
The result should be dark, glossy and almost jewel-like.
2. Vampy Oxblood Chrome Nails
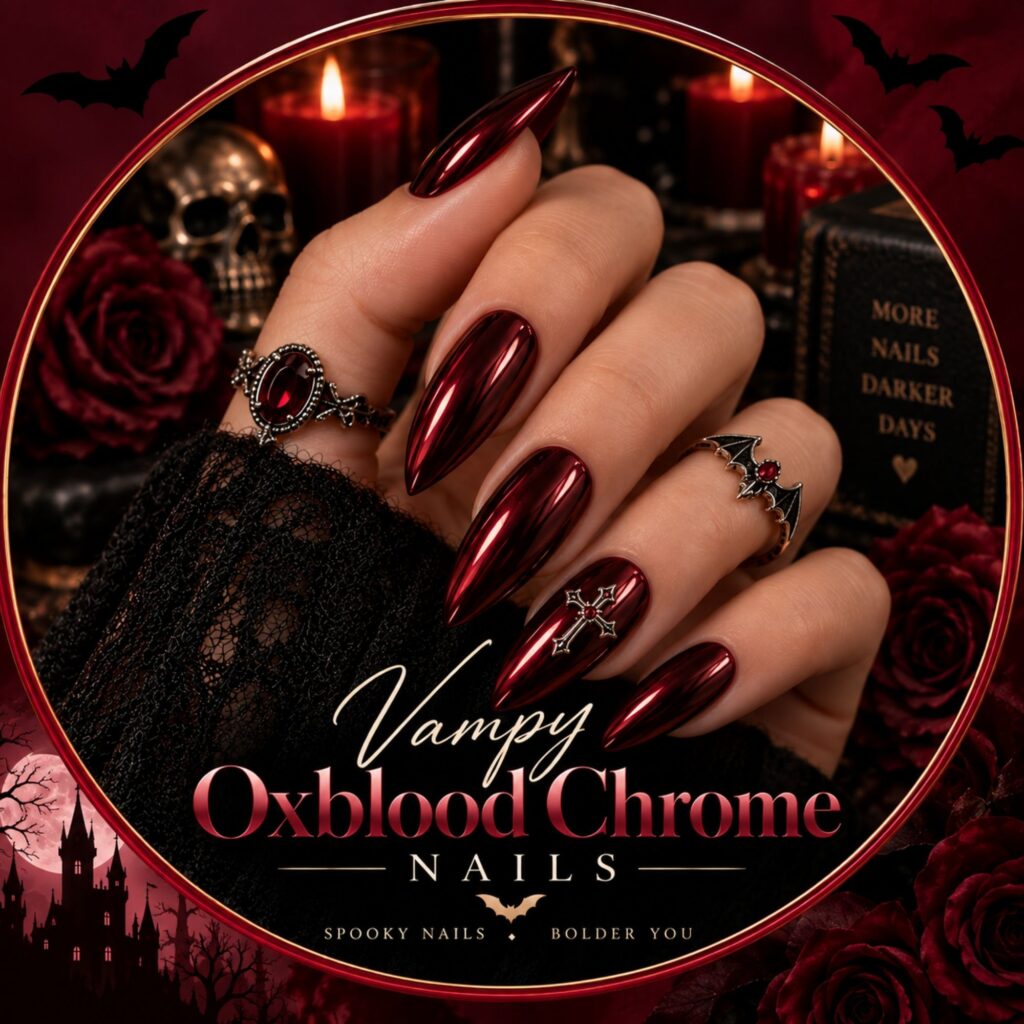
Want something more dramatic? Take the classic oxblood chrome manicure into full vampy territory. Think deep blood-red tones, elongated nails and an intense reflective finish. This design works particularly well for Halloween parties, evening events and anyone who loves a darker beauty aesthetic.
Materials You’ll Need
- Base coat: For nail protection and adhesion.
- Black gel polish: For creating additional depth.
- Oxblood gel polish: Your primary color.
- Red chrome powder: To intensify the reflective effect.
- No-wipe top coat: For the chrome application.
- Fine nail-art brush: Optional for detail work.
How to Make It
- 1. Prep and shape: Almond or stiletto nails create the strongest vampy silhouette.
- 2. Add the base coat: Cure completely.
- 3. Build the color: Apply oxblood polish over the nails. For extra depth, use a very thin black layer underneath.
- 4. Add chrome: Apply your no-wipe top coat and cure as directed.
- 5. Buff the chrome: Work the red-toned chrome powder into the nail until it becomes highly reflective.
- 6. Finish with gloss: Seal with a glossy top coat.
Keep the artwork minimal. The color depth and shine are the statement.
3. Oxblood Chrome Coffin Nails
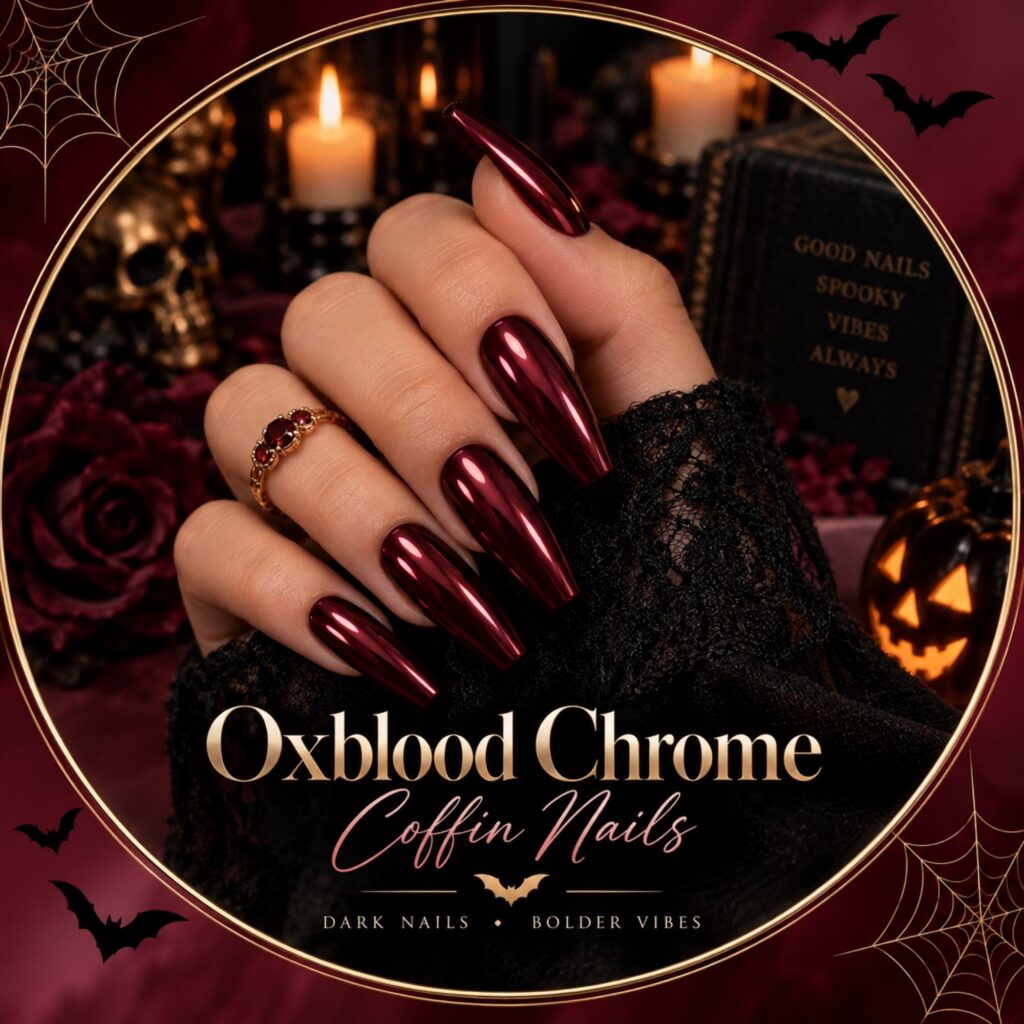
Long coffin nails make oxblood chrome feel especially editorial. The flat tip gives the reflective finish a larger canvas, allowing the color to shift beautifully as your hands move. This is one of the strongest options if you want luxury Halloween nails without obvious Halloween symbols.
Materials You’ll Need
- Base coat
- Oxblood gel polish
- Black gel polish
- Chrome powder
- No-wipe top coat
- Nail file
- Buffer
How to Make It
- 1. Shape the nails: Create a symmetrical coffin shape with straight sides and a flat tip.
- 2. Apply your base: Cure the base coat.
- 3. Add oxblood: Apply two thin coats of your deep red-brown polish.
- 4. Apply the chrome: Add the no-wipe top coat and cure according to instructions.
- 5. Buff: Rub chrome powder over the surface until you get a smooth metallic finish.
- 6. Seal the edges: Apply top coat carefully over the tip and sidewalls.
For an especially dark Halloween effect, keep the oxblood shade closer to black-red than bright burgundy.
4. Oxblood Chrome French Tips
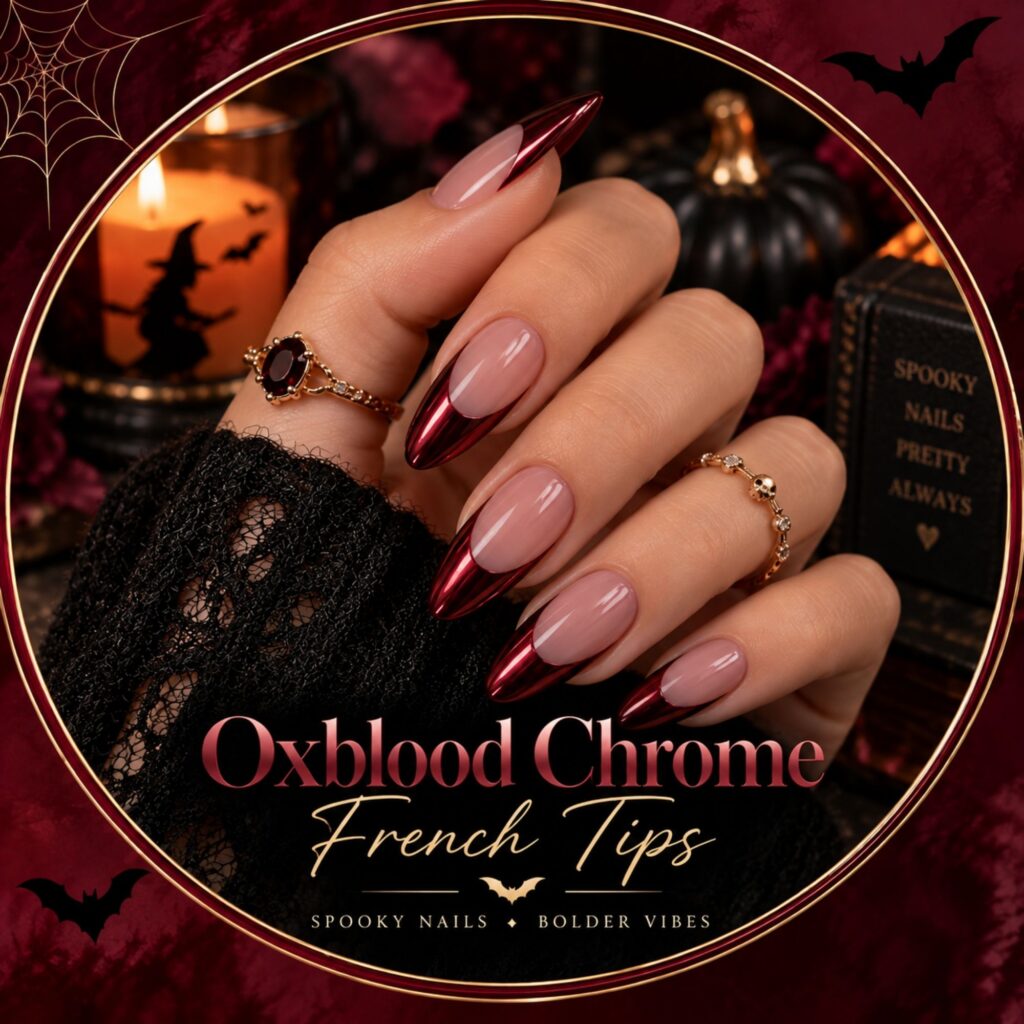
If you prefer something more wearable, try Oxblood Chrome French Tips. Instead of covering the entire nail, use a sheer or nude base and place the reflective oxblood chrome only across the tips. It creates a refined Halloween manicure that can easily transition into the rest of fall.
Materials You’ll Need
- Base coat
- Sheer nude gel polish
- Oxblood gel polish
- Chrome powder
- French-tip brush
- No-wipe top coat
How to Make It
- 1. Prepare the nails: File into almond, oval or square shapes.
- 2. Apply your base: Add base coat and cure.
- 3. Create the nude foundation: Apply one or two thin coats of sheer nude polish.
- 4. Create the French tip: Paint a clean oxblood French tip using a fine brush.
- 5. Cure: Follow your gel system’s curing instructions.
- 6. Add chrome: Apply the appropriate no-wipe layer to the tip area and buff in your chrome pigment.
- 7. Seal: Apply top coat and cure.
For a subtle Halloween mood, keep the French line thin and sharply defined.
5. Oxblood & Black Chrome Nails
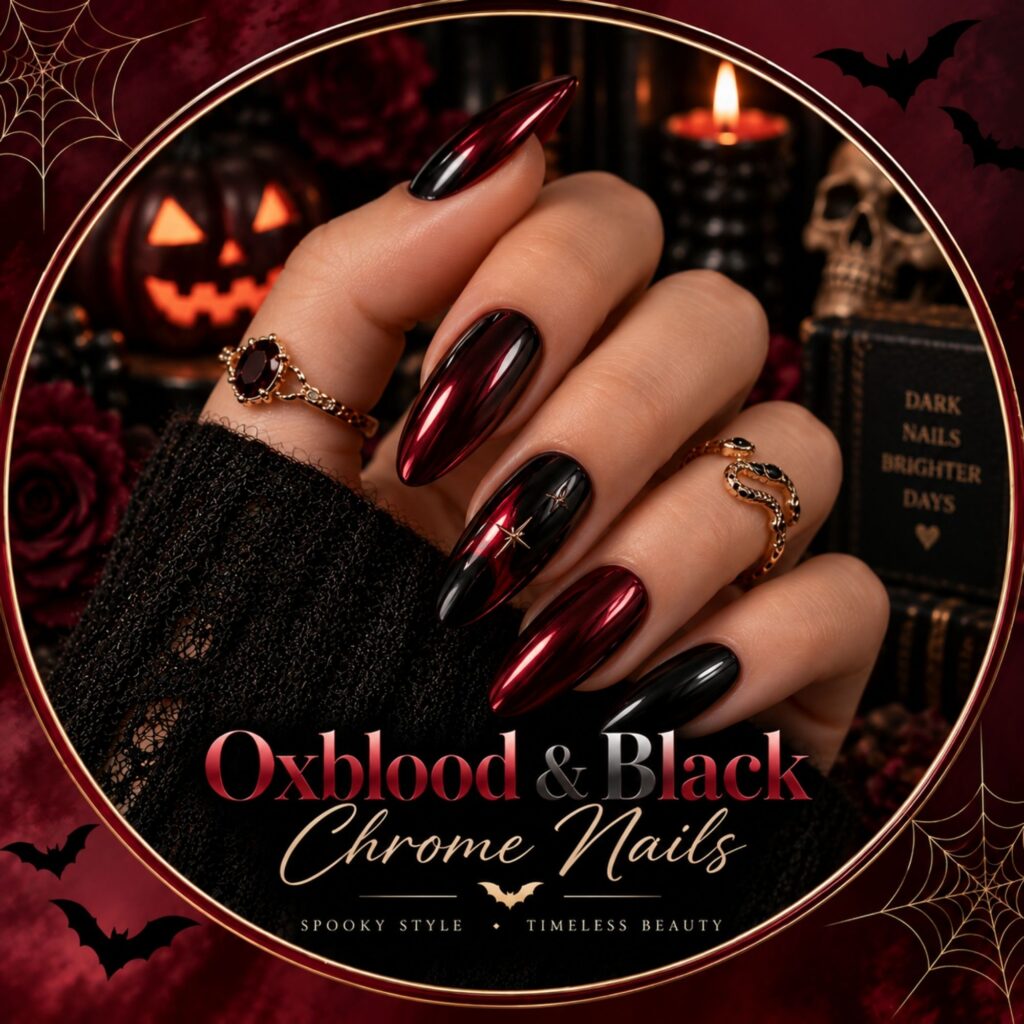
Oxblood and black are practically made for Halloween. Combining them creates a manicure that feels gothic, luxurious and mysterious without requiring complicated artwork. Use black as the foundation on some nails and oxblood chrome on others, or create an ombré transition between the two.
Materials You’ll Need
- Black gel polish
- Oxblood gel polish
- Chrome powder
- Base coat
- Detail brush or sponge
- No-wipe top coat
How to Make It
- 1. Create your base: Alternate black and oxblood nails or use black as the base for an ombré design.
- 2. Blend: If creating an ombré, gently blend oxblood into black before curing.
- 3. Cure: Follow the manufacturer’s instructions.
- 4. Add chrome: Apply your chrome-friendly top layer.
- 5. Buff the powder: Work the chrome into the surface until the colors become dimensional.
- 6. Seal: Finish with a glossy top coat.
The key is contrast without clutter.
6. Oxblood Chrome Cat-Eye Nails
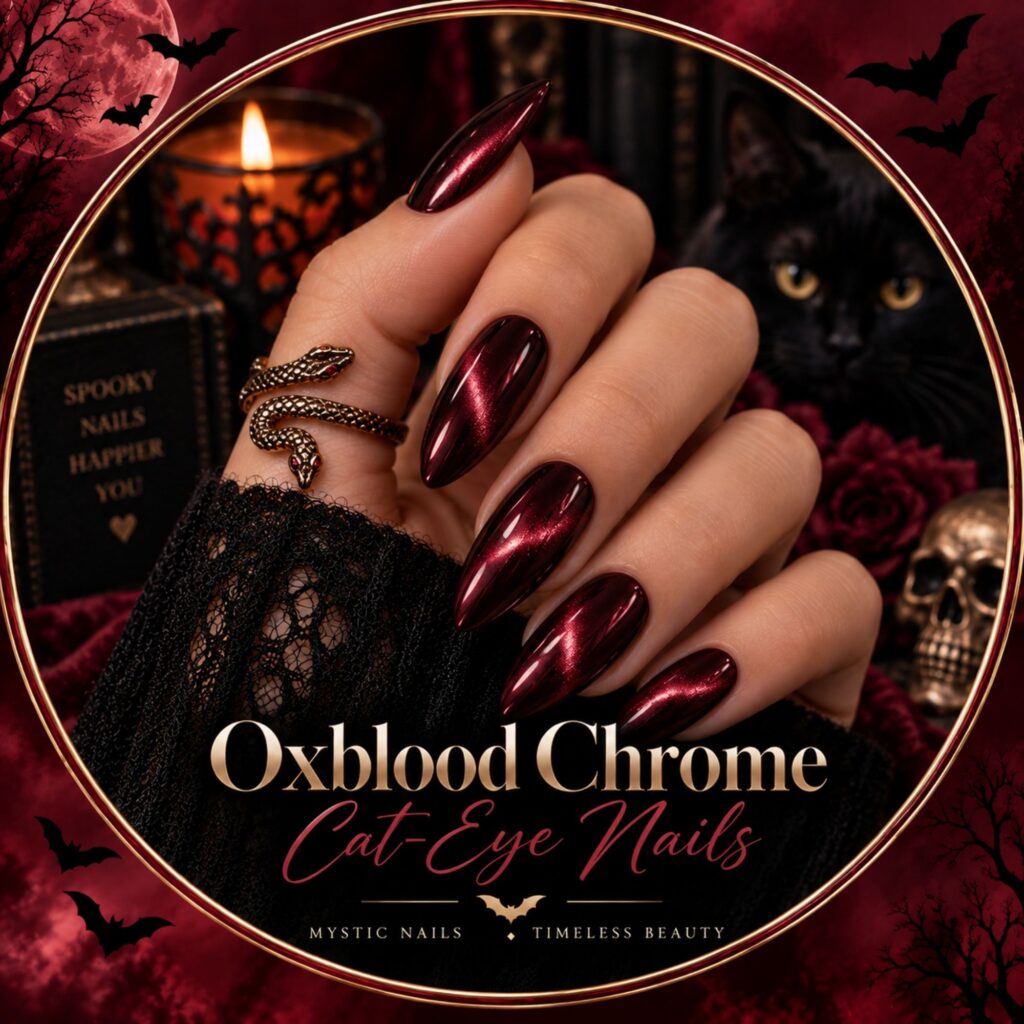
For a mesmerizing Halloween manicure, add a magnetic effect. Jewel-toned cat-eye nails are also part of the Fall 2026 nail direction, with magnetic particles creating depth and movement across darker colors.
Materials You’ll Need
- Base coat
- Oxblood magnetic gel polish
- Magnet
- Black gel polish: Optional.
- Glossy top coat
Cuticle oil
How to Make It
- 1. Prep your nails: Shape and buff them.
- 2. Apply base coat: Cure completely.
- 3. Apply the magnetic polish: Add a thin layer of oxblood cat-eye gel.
- 4. Use the magnet: Hold the magnet above the nail according to the polish manufacturer’s directions until the metallic particles form a visible light band.
- 5. Cure immediately: Once you like the effect, cure the nail.
- 6. Repeat: Add another coat if you want stronger depth.
- 7. Top coat: Seal the manicure with glossy top coat.
This gives you a blood-red celestial reflection that feels perfect for Halloween night.
7. Oxblood Chrome Spiderweb Nails
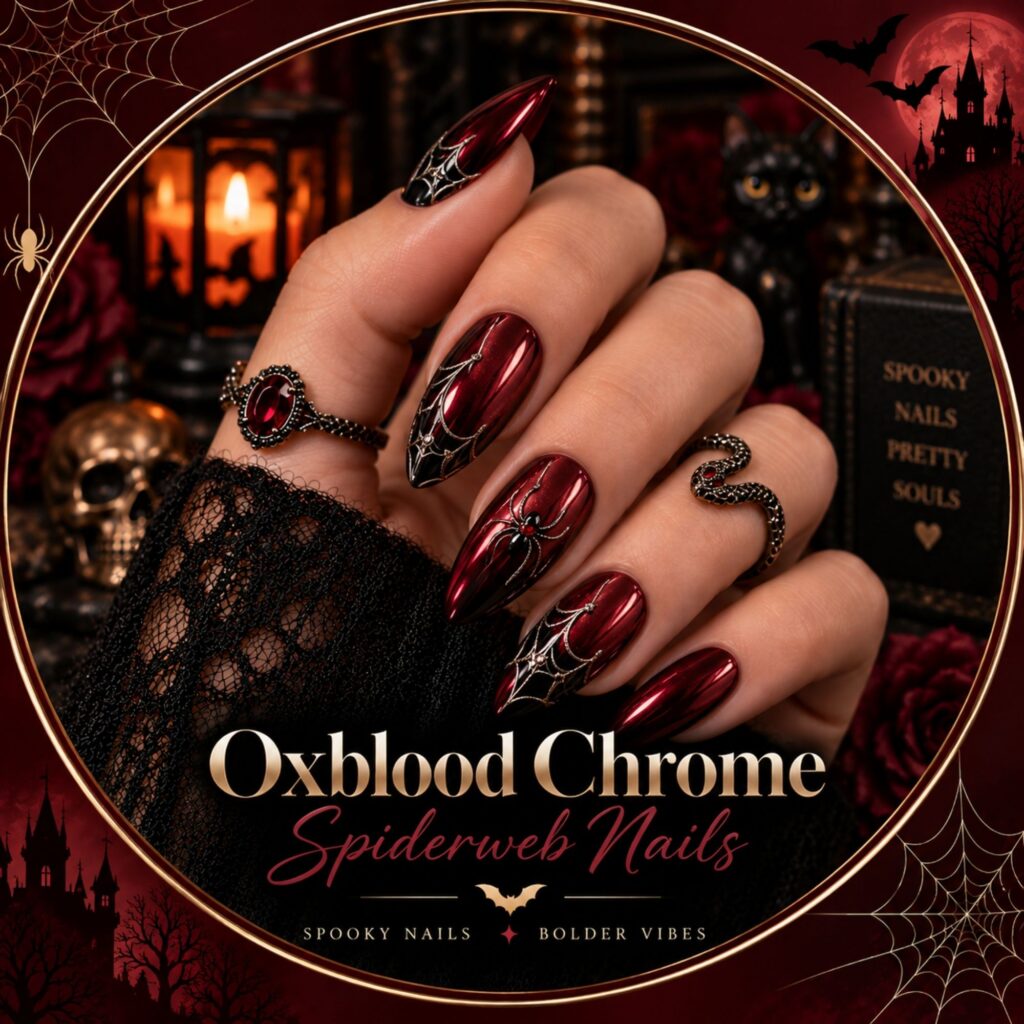
This is where the manicure becomes unmistakably Halloween. Keep most nails as solid oxblood chrome, then decorate one or two accent nails with delicate black spiderweb artwork. Current Halloween 2026 nail coverage is favoring fine, restrained spiderweb details rather than overly busy designs.
Materials You’ll Need
- Oxblood gel polish
- Chrome powder
- Black nail-art gel
- Fine liner brush
- Base coat
- Glossy top coat
- Dotting tool: Optional.
How to Make It
- 1. Create your chrome base: Complete the oxblood chrome manicure.
- 2. Choose your accent nails: Two accent nails are enough.
- 3. Draw the web: Start with three or four thin lines extending from one corner.
- 4. Connect the lines: Add curved lines between them to create the web.
- 5. Cure: Cure the artwork once you are satisfied.
- 6. Seal: Apply a glossy top coat.
The secret is fine lines and negative space. Don’t cover every inch of the nail.
8. Oxblood Chrome Drip Nails
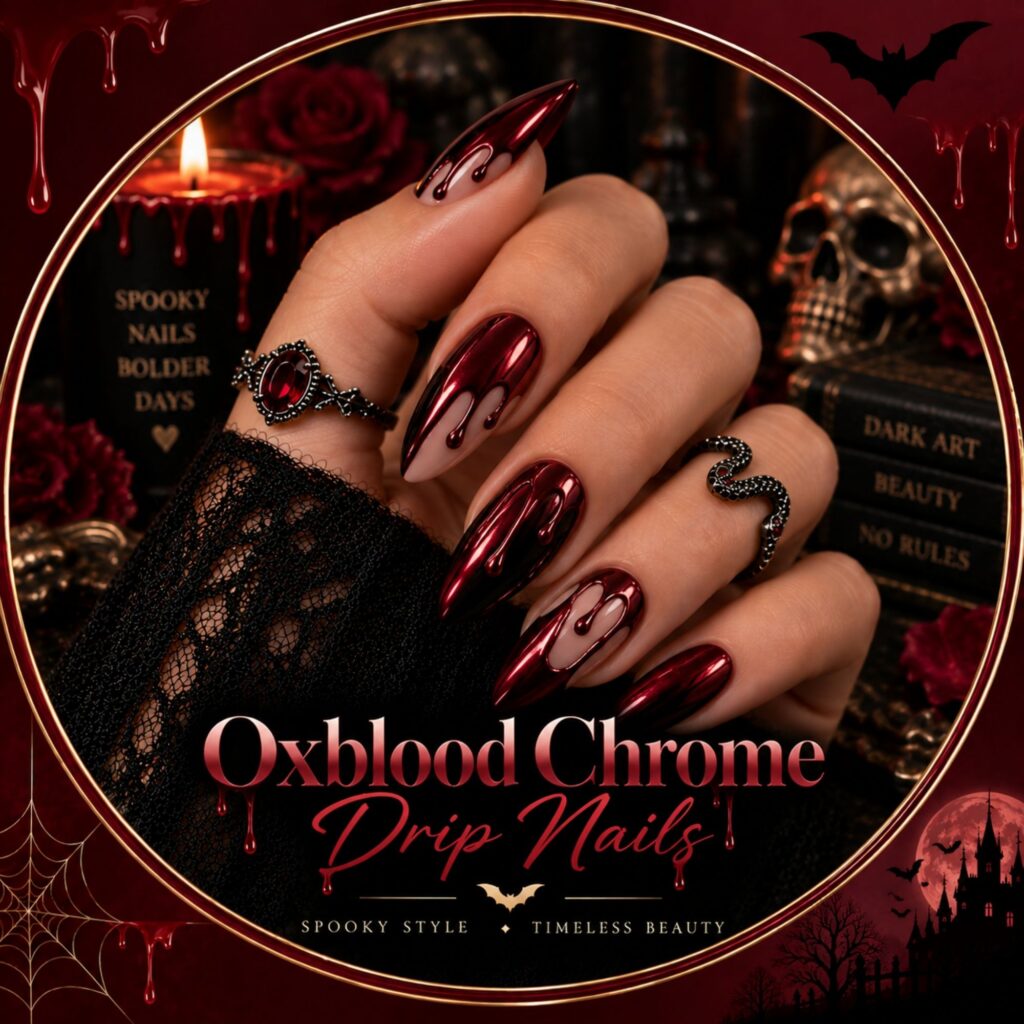
For something more playful, create dripping oxblood chrome tips. The design gives the visual impression of liquid red lacquer running down the nail, creating a vampy Halloween effect without needing traditional Halloween characters.
Materials You’ll Need
- Black or sheer nude base polish
- Oxblood gel polish
- Chrome powder
- Fine nail-art brush
- Dotting tool
- No-wipe top coat
How to Make It
- 1. Apply your base: Use black for dramatic contrast or sheer nude for a softer effect.
- 2. Create the drips: Use your detail brush to paint rounded oxblood drips from the tip.
- 3. Vary the lengths: Make some drips short and others longer.
- 4. Cure: Cure the design once complete.
- 5. Add chrome: Apply chrome over the appropriate surface.
- 6. Seal: Finish with glossy top coat.
Keep the drips rounded and polished rather than overly realistic for a more fashion-forward finish.
9. Oxblood Chrome Aura Nails
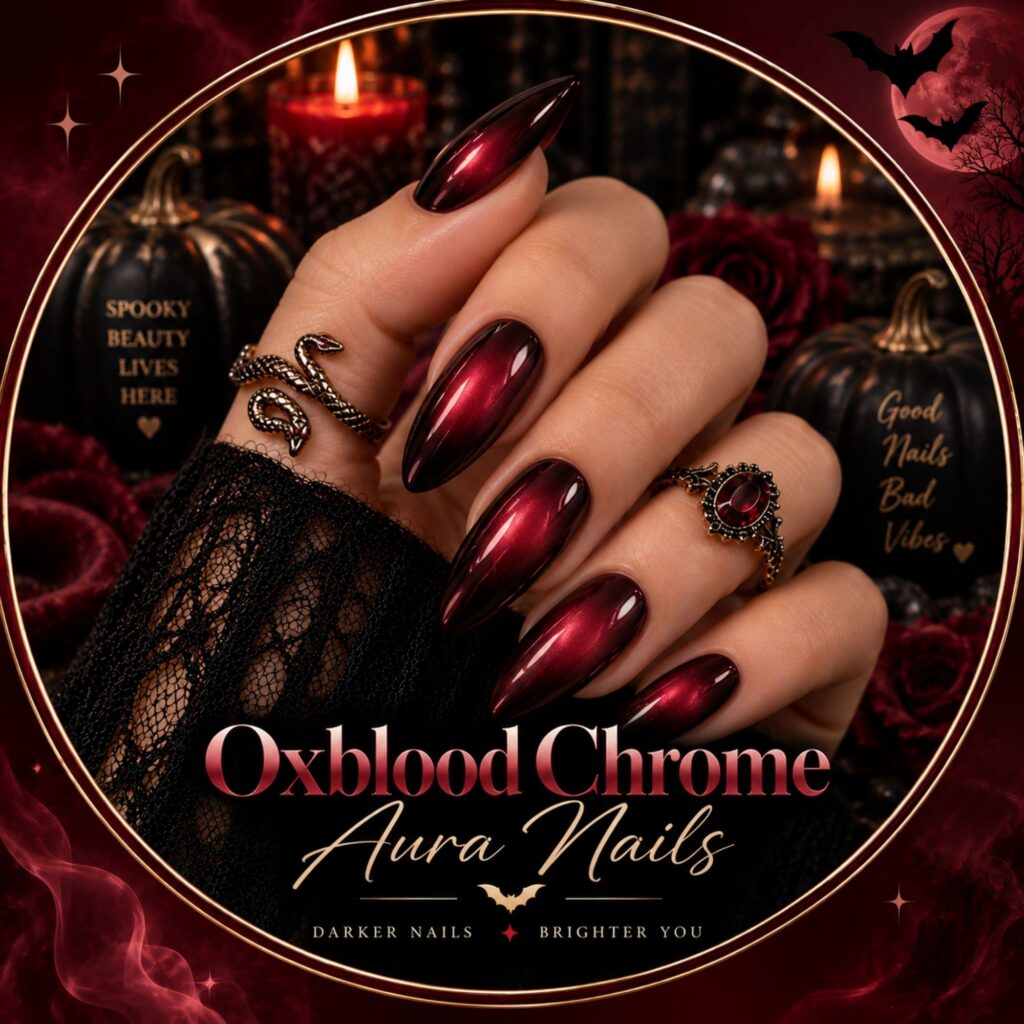
Aura nails bring a softer dimension to the dark Halloween palette. Instead of using obvious Halloween artwork, blend oxblood, black and deep red into a diffused aura effect. The result feels mysterious, atmospheric and surprisingly wearable.
Materials You’ll Need
- Base coat
- Black gel polish
- Oxblood gel polish
- Deep red gel polish
- Sponge or nail-art blending tool
- Chrome powder
- Glossy top coat
How to Make It
- 1. Apply your base: Cure the base coat.
- 2. Add the dark foundation: Apply a thin layer of black or deep oxblood.
- 3. Build the aura: Place a small amount of brighter oxblood or red toward the center.
- 4. Blend: Use a sponge to soften the edges and create a hazy transition.
- 5. Cure: Once the aura looks balanced, cure it.
- 6. Add subtle chrome: Use a fine layer of chrome for a reflective glow.
- 7. Seal: Apply glossy top coat.
The goal is soft contrast, not a harsh color boundary.
10. Oxblood Chrome Halloween French Tips
For the final design, combine everything into one polished statement: oxblood, chrome, French tips and tiny Halloween details. Start with a neutral base, add deep oxblood chrome tips and finish one or two nails with a miniature spider, moon or web.
Materials You’ll Need
- Sheer nude gel polish
- Oxblood gel polish
- Chrome powder
- Black nail-art gel
- Fine liner brush
- Dotting tool
- Base coat
- Glossy top coat
How to Make It
- 1. Create the base: Apply a sheer nude polish and cure.
- 2. Paint the French tips: Create clean oxblood tips.
- 3. Add chrome: Buff chrome pigment over the tips.
- 4. Add Halloween details: Choose one small motif, such as a spiderweb, crescent moon or tiny dot pattern.
- 5. Cure the artwork: Cure according to your gel system.
- 6. Seal: Apply top coat over the entire manicure.
This is the perfect choice if you want Halloween energy without sacrificing elegance.
Pro Tips for the Perfect Oxblood Chrome Finish
Creating a luxe chrome manicure is less about adding more decoration and more about getting the foundation perfect.
1. Keep your layers thin: Thick gel layers can cure unevenly and make the final manicure look bulky.
2. Don’t rush the chrome: Chrome needs an even surface. Any bumps underneath can become much more visible once the pigment is applied.
3. Choose the right oxblood: A brown-red oxblood creates a sophisticated look, while a brighter red creates a more dramatic vampire effect.
4. Keep Halloween details restrained: One spiderweb or accent nail can be more effective than covering every nail with motifs. The 2026 Halloween direction is notably more refined and wearable.
5. Experiment with finishes: Glossy chrome is the obvious choice, but combining glossy oxblood with a matte black accent can create beautiful contrast.
6. Seal the free edge: Run your top coat carefully over the nail tip to help reduce premature chipping.
7. Cure according to your product: Gel systems differ, so always follow the manufacturer’s recommended curing time and lamp requirements.
FAQs
Where to Wear Oxblood Chrome Halloween Nails ?
These nails aren’t limited to Halloween night. Their deep color palette makes them surprisingly versatile throughout the entire fall season.
- Halloween parties: Choose vampy chrome, spiderwebs or drip details for maximum drama.
- Fall date nights: Oxblood chrome almond nails offer a sophisticated, romantic finish.
- Autumn weddings: Try minimalist oxblood chrome French tips for something unexpected.
- Dinner and evening events: Classic full-set chrome gives you a polished statement without obvious Halloween artwork.
- Everyday fall styling: Choose a shorter almond or squoval shape with simple oxblood chrome for an elevated seasonal manicure.
How to Make Oxblood Chrome Halloween Nails Last ?
The secret to a long-lasting manicure starts before the Base Coat. Make sure the nail plate is clean, dry and properly prepared. Avoid getting polish on the surrounding skin because lifting can begin around the edges. Apply thin, even coats, cure each layer according to your product instructions and pay special attention to the free edge. After finishing, give the manicure time to settle and use cuticle oil regularly to keep the surrounding area conditioned. For chrome designs, avoid aggressively buffing or scraping the surface after the manicure is complete. A properly sealed top coat helps preserve the reflective finish.
Personally, I’d choose the Vampy Oxblood Chrome Nails for Halloween night and the Oxblood Chrome French Tips for the rest of fall. Both deliver that glossy, editorial finish while still feeling wearable. So whether your aesthetic is dark and dramatic, minimal and elegant, or unapologetically vampy, there is an oxblood chrome look waiting for you.
Looking for more style inspiration and curated content? Discover the latest trends, how-to guides, and elevated edits—visit our blog page and explore more.
[…] Oxblood Chrome Halloween Nails: 10 Spooky Simple Designs Halloween French Tip Nails: 10 Cute, Classy & Spooky Designs Black Cat Halloween Nail Art : 15 Spooky Designs for 2026 Cute Pumpkin Halloween Nails: 10 Designs for 2026 Blood Drip Halloween Nails: 10 Designs to Try in 2026 […]