
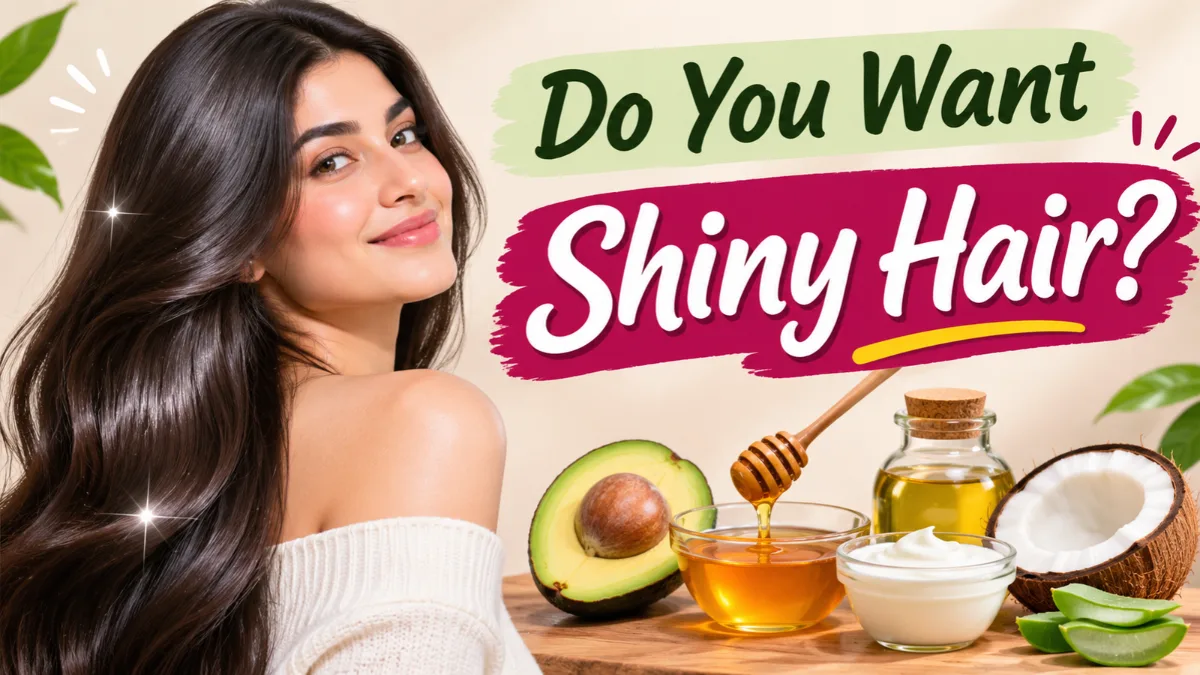
If you’re looking for a little self-care, why not take some time to pamper your hair? Make yourself comfortable, put on your favorite music or show, and enjoy a relaxing hair care session. Sometimes, a little extra care is all your hair needs to look softer, smoother, and shinier.
In this guide, I’ve gathered 5 easy DIY hair masks for shiny hair, made with simple ingredients you may already have in your kitchen. These homemade recipes are easy to prepare and a lovely way to add some extra care to your hair routine.
Why Use a Hair Mask?
A hair mask is a simple way to give your hair extra care and conditioning at home. It can help make dry strands feel softer, smoother, and easier to manage while improving their overall appearance. Think of it as an extra step in your regular hair care routine when your hair needs a little more attention.
The best part is that you don’t always need expensive salon treatments to care for your hair. Simple ingredients like coconut oil, honey, aloe vera, and avocado can be used to prepare homemade hair masks. These easy recipes may help condition your hair, reduce the feeling of dryness, and give it a naturally glossy look.
1. Coconut Oil and Honey Hair Mask
This is one of my favorite simple combinations for hair that feels dry and rough. Coconut oil can help reduce protein loss from hair, while honey acts as a humectant and adds moisture-attracting properties to the mixture.
Ingredients
- 1 tablespoon coconut oil
- 1 teaspoon honey
How to Make It
- Combine the coconut oil and honey in a small bowl.
- Mix until the ingredients are evenly blended.
- Apply a small amount to the lengths and ends of slightly damp hair.
- Leave it on for approximately 15–20 minutes.
- Rinse thoroughly and shampoo as needed.
Why Try This Hair Mask?
Coconut oil helps condition the hair, while honey can contribute to a softer feel. Together, they may help dry strands look smoother and more polished.
Best for: Dry hair and rough-looking ends.
Tip: If your hair is fine or easily weighed down, use a very small amount of coconut oil.
2. Avocado and Olive Oil Hair Mask
Avocado is a popular ingredient in homemade beauty recipes because it contains fats and nutrients. Olive oil can help lubricate hair strands, making them feel smoother.
Ingredients
- ½ ripe avocado
- 1 teaspoon olive oil
How to Make It
- Mash the avocado until completely smooth.
- Add olive oil and mix well.
- Apply the mixture to damp hair, concentrating on the lengths and ends.
- Leave it on for 15–20 minutes.
- Rinse carefully and shampoo to remove any residue.
Why Try This Hair Mask?
The combination provides conditioning and lubrication that may help reduce the rough feel of dry hair. Smooth strands can reflect light more evenly, giving hair a shinier appearance.
Best for: Dry, thick, or coarse hair.
Tip: Blend the avocado thoroughly to avoid small pieces getting trapped in your hair.
3. Aloe Vera and Coconut Oil Hair Mask
Aloe vera is often used in hair care products because of its soothing and moisturizing properties. Combined with a little coconut oil, it creates a lightweight conditioning mixture.
Ingredients
- 2 tablespoons aloe vera gel
- 1 teaspoon coconut oil
How to Make It
- Add aloe vera gel to a clean bowl.
- Mix in coconut oil until combined.
- Apply lightly to the hair lengths.
- Leave it on for 15 minutes.
- Rinse thoroughly and wash your hair if needed.
Why Try This Hair Mask?
Aloe vera can help hair feel conditioned, while coconut oil provides additional lubrication. This combination may be useful when your hair feels dry or difficult to manage.
Best for: Hair that feels dry or slightly rough.
Tip: Choose plain aloe vera gel without added fragrance or irritating ingredients.
4. Banana and Yogurt Hair Mask
If your hair feels rough and lacks softness, this creamy combination may be worth trying. Yogurt provides a smooth texture, while banana is commonly used in homemade conditioning treatments.
Ingredients
- ½ ripe banana
- 2 tablespoons plain yogurt
How to Make It
- Blend the banana until completely smooth.
- Add plain yogurt and mix well.
- Apply a thin layer to damp hair lengths.
- Leave it on for approximately 15 minutes.
- Rinse thoroughly with lukewarm water and shampoo.
Why Try This Hair Mask?
The mixture may help hair feel softer and easier to manage after rinsing. Its creamy consistency makes it a popular option for homemade conditioning recipes.
Best for: Hair that feels dry or rough.
Tip: Always blend the banana rather than simply mashing it. This makes rinsing much easier.
5. Honey and Aloe Vera Hair Mask
For a simple homemade treatment, honey and aloe vera make an easy combination. Both ingredients are popular in beauty routines because of their moisture-related properties.
Ingredients
- 1 tablespoon aloe vera gel
- 1 teaspoon honey
How to Make It
- Mix aloe vera gel and honey in a bowl.
- Apply the mixture lightly to damp hair.
- Focus on the lengths and ends rather than the scalp.
- Leave it on for 10–15 minutes.
- Rinse thoroughly and shampoo if necessary.
Why Try This Hair Mask?
Honey helps attract moisture, while aloe vera gives the mixture a smooth consistency. The treatment may help hair feel softer and look more manageable.
Best for: Hair that feels dry and needs light conditioning.
Tip: Use a small amount of honey because excessive application may leave sticky residue.
How to Apply a DIY Hair Mask for Better Results
Even a simple homemade hair mask works best when you apply it carefully.
Step 1: Start With Clean or Slightly Damp Hair
Slightly damp hair can make a homemade mixture easier to spread. If your hair has significant product buildup, cleanse it first.
Step 2: Focus on the Hair Lengths
For most homemade conditioning masks, the lengths and ends are the areas that benefit most. Avoid applying heavy oil-based mixtures directly to the scalp if you are prone to buildup.
Step 3: Use a Small Amount
Applying too much product can make your hair greasy or difficult to rinse. Start with a small quantity and add more only if necessary.
Step 4: Keep the Application Time Short
A homemade hair mask does not need to stay on your hair for hours. Around 10–20 minutes is generally sufficient for these simple recipes.
Step 5: Rinse Thoroughly
Use lukewarm water and shampoo when necessary to remove oil, honey, or food ingredients. Make sure no residue remains.
Tips to Make Hair Look Naturally Shiny
Along with homemade hair masks, a few everyday habits can make a noticeable difference in how your hair looks.
1. Use a Conditioner After Shampooing
Conditioner helps smooth the hair surface and improves manageability. This is one of the most practical steps for achieving shinier-looking hair.
2. Avoid Excessive Heat Styling
Frequent high-temperature styling can contribute to hair damage. Use heat protection products and lower temperatures whenever possible.
3. Choose the Right Hair Products
If your hair feels dry, look for conditioning products designed for your hair type. Fine hair may benefit from lighter formulas, while coarse or curly hair may need richer conditioning.
4. Avoid Overwashing
Wash your hair according to your scalp’s needs. Excessive cleansing or harsh products may leave some hair types feeling dry.
5. Reduce Friction
Use a soft towel or microfiber towel to gently remove excess water. Avoid rubbing wet hair aggressively.
6. Trim Damaged Ends
Split ends cannot be permanently repaired with homemade masks. Regular trims can help keep your hairstyle looking neat and healthy.
How Often Should You Use a DIY Hair Mask?
For most people, trying a homemade conditioning mask occasionally is enough.
- Dry hair: Once every 1–2 weeks may be sufficient.
- Fine hair: Use lightweight mixtures occasionally to avoid buildup.
- Thick or coarse hair: Richer conditioning treatments may be more comfortable for your hair.
- Oily scalp: Keep oil-based masks away from the scalp and concentrate on the ends.
Your regular conditioner should remain the foundation of your hair care routine.
Frequently Asked Questions
How can I make my hair shiny naturally at home?
Use a suitable conditioner, avoid excessive heat styling, and try occasional conditioning treatments. Keeping the hair surface smooth is more helpful for shine than relying on a single homemade recipe.
Which homemade hair mask is best for shiny hair?
Coconut oil and honey or avocado and olive oil are popular options for conditioning dry hair. The best choice depends on your hair texture and how easily it becomes weighed down.
Can I use a DIY hair mask every day?
Daily use is generally unnecessary. Homemade masks containing oils or food ingredients may cause buildup, so occasional use is more practical.
Do homemade hair masks repair damaged hair?
Homemade masks cannot permanently repair split ends or reverse structural hair damage. They may temporarily improve softness, lubrication, and manageability.
Looking for more style inspiration, beauty tips, and DIY ideas? Visit the Izoate Fashion blog page for more inspiration.